If someone signs up for your newsletter, or completes any of the forms on your website for that matter, it’s a good practice to redirect them to a page that confirms you’ve heard
Obviously, an online enquiry will often warrant a personalised response. But if the enquiry came from a certain page on your website, could you send them some more information that might help them faster? If they completed a registration form for an event or appointment, could you send them information about the event or appointment? Tell them where to park, what to expect, what happens next etc?
This is where MailChimp is a very friendly monkey indeed.
Say you want to grow your database and keep in touch with them via a
We can easily do this with a MailChimp automation, that will
Your MailChimp Account
I’m assuming you already have a MailChimp account (sign up for a free MailChimp account here if not), and have a subscriber form on your website which sends subscriber details to a list in MailChimp.
Create a campaign
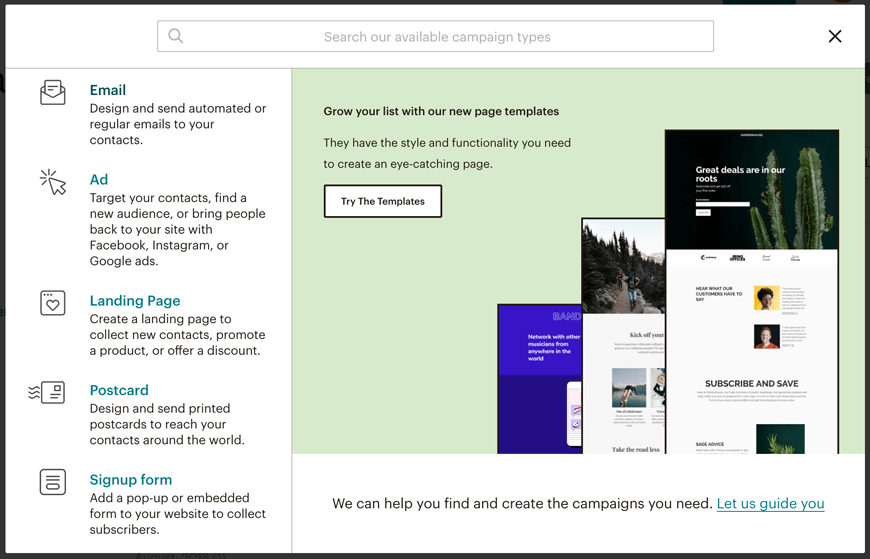
Once logged into your MailChimp account, navigate to ‘Create’ or ‘Create A Campaign’. Clicking either of these buttons will result in a pop box displaying options for your campaign. Select the first one – email.
At the top of the next screen, select ‘Automated’, and choose the ‘Welcome new subscribers’ option. From here you can choose one of three options:
- Welcome message (one off email)
- Onboarding series (a sequence of emails)
- Education series (a sequence of emails)
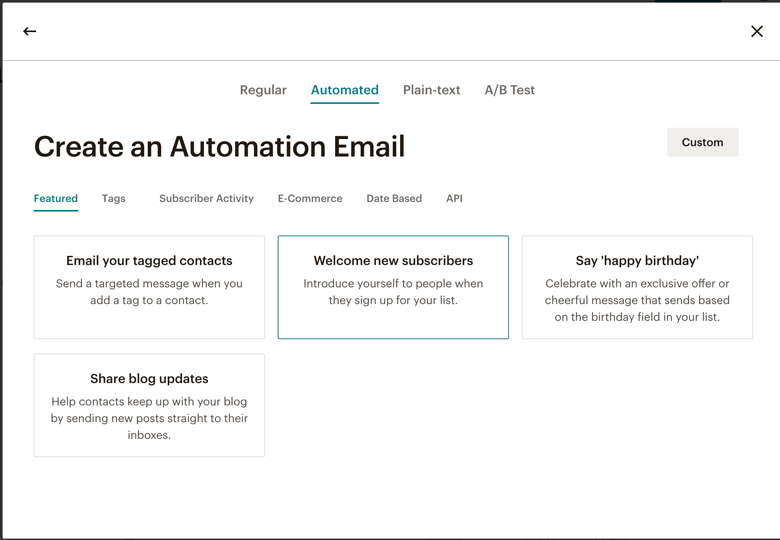
For this tutorial, we’ll keep it simple and create a single Welcome message. Give your campaign a name and select the list that you want to send it to. (This is the list that your website is sending your subscribers to). Click Select.
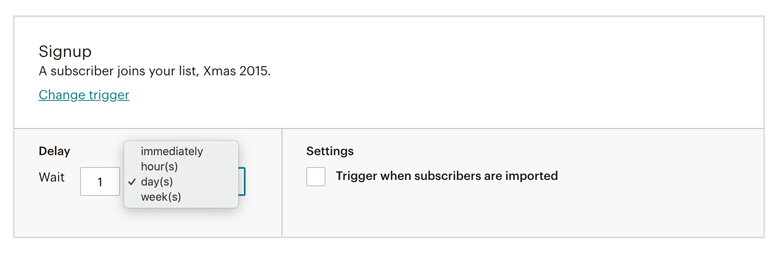
The next page you see will be your Workflow Recipe. It will automatically be set to trigger one day after a subscriber joins your list. If you’re sending an ebook, you’ll need to edit this so it happens straight away. Click Edit, and change the delay to ‘immediately’. Tick the ‘Trigger when subscribers are imported’ box, and ‘Update Trigger’.
Next step is to design your email.
Design your email
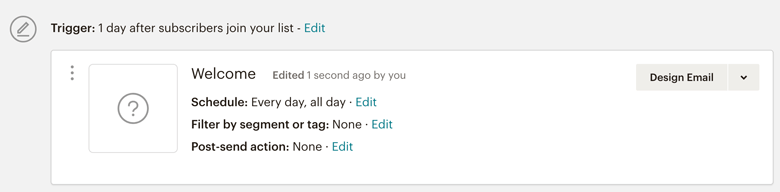
Click the ‘Design Email’ button and fill out the details.
Select a template or choose a saved template and create the email you want to send. For the purpose of this tutorial, we might say something like:
Thank you for subscribing to our newsletter. We’re thrilled to have you on board and look
As promised, here is the link to our free eBook about {insert title}.
We hope you find it helpful. If you have any questions, hit reply and let us know. etc..
Note: Don’t forget to link the link! In this case, iI recommend adding the eBook (PDF) to your WordPress website, and copying the URL. Keep in mind this also means anyone with that link can access the eBook. If this is a problem for you then password protection may be the way to go.
Test and Review
Once you’re happy with your email, preview and test to make sure all is as expected. Click ‘Next’ and check the details on the following page are correct. When you’re ready, click ‘Confirm’ and you’re good to go.
Summary
There you have it! A quick and easy way to set up a simple automation using MailChimp. Hope this is useful. If you need more help, you can contact us here >.
Pingback: What Is A Lead Nurturing Campaign | Techie Heap
Pingback: When Should I Use SMS Marketing? | Techie Heap
Pingback: What Is A Drip Ad Campaign | Techie Heap
Pingback: Does Constant Contact Do Drip Campaigns | Techie Heap
Pingback: What Are Good Email Open And Click Rates | Techie Heap
Pingback: What Are The Types Of Drip Campaigns? | Techie Heap